


When I came to know about Hashnode Hackathon I was excited to build something. The idea of building something even so small always gives you the room to learn. I was excited to do so 😍. the fact which excites me more is that this is my first blog so bear me with the mistakes and come along the journey of building the Punishment Assistant. 🚀
How the idea of Punishment Assistant Come?
I was one of the mischievous students back then in my school days 😁 (I guess you are one of them 😅). I was often out of the class to have a good time with friends in the vicinity of a punishment. Then I knew less about how to code applications and my PCM teachers knew least 🙃. So I thought how can the punishment be more structured if I get to become a teacher someday😐.
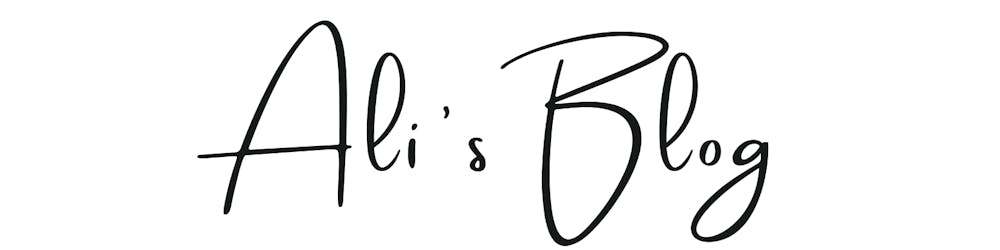
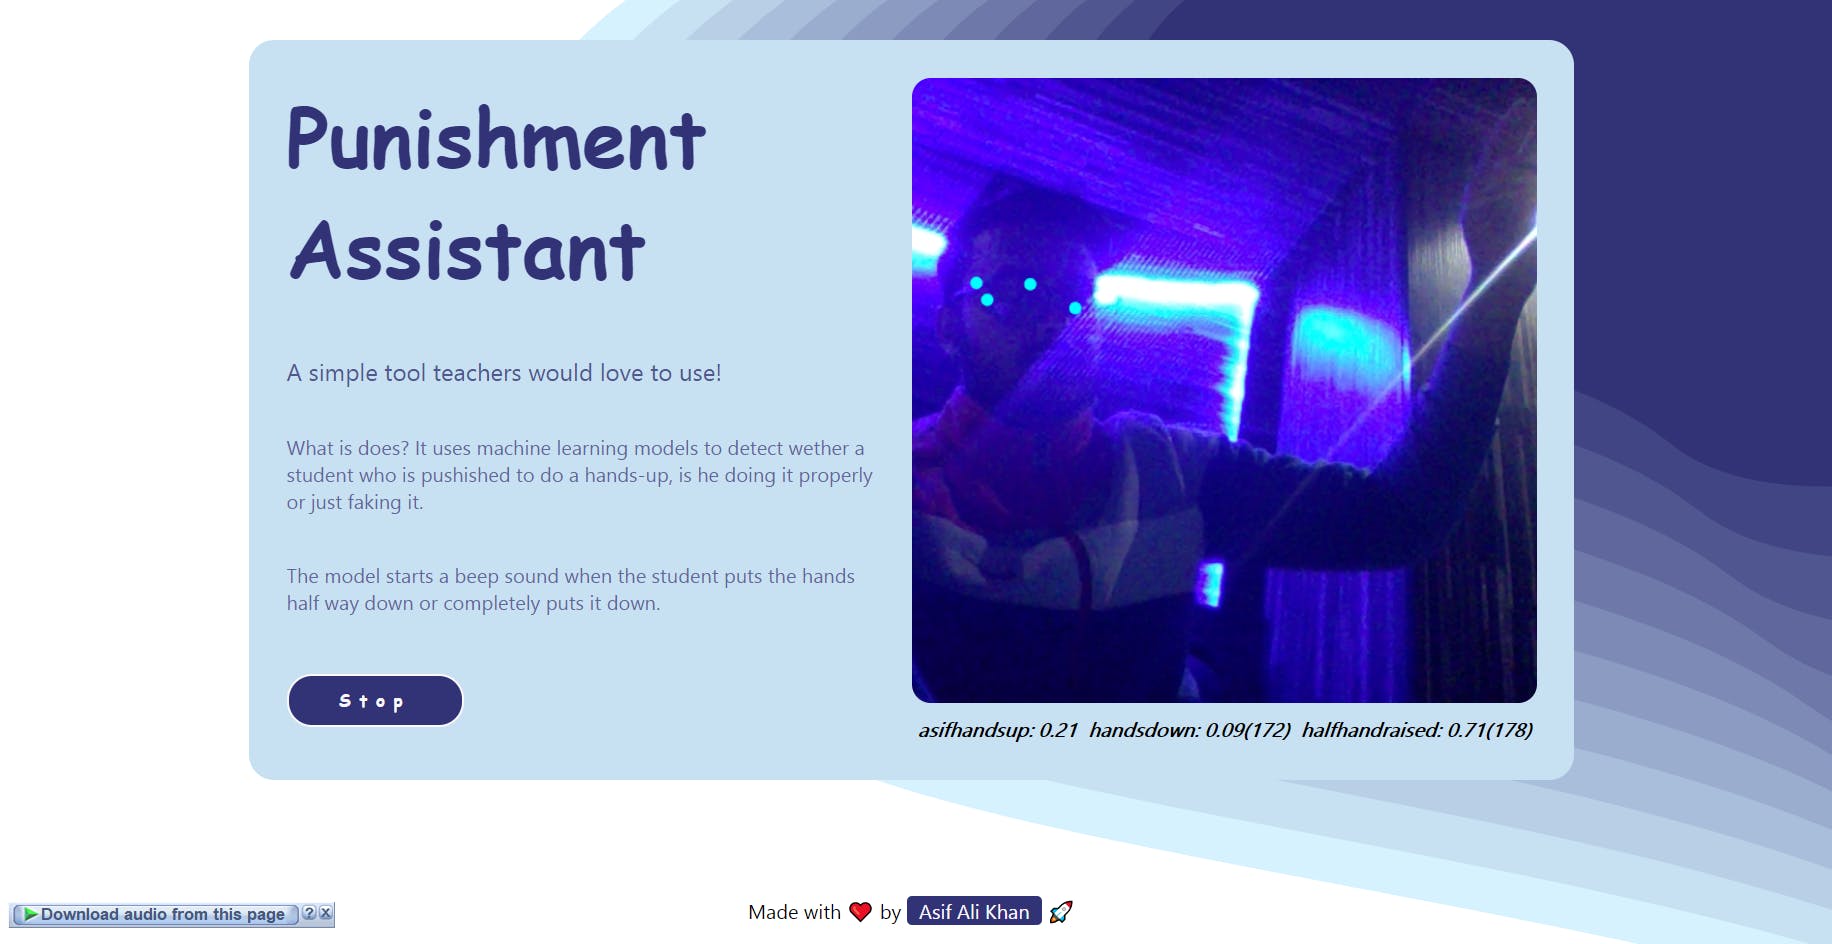
The concept of Punishment Assignment came into existence. We will be keeping the punished child inside the webcam surveillance and the web app will detect whether he/she is doing the job properly or not. I will drive you to the tech on how I build it. The final app looks like this🚀
Technologies used?
The Punishment Assistant is built using,
The Teachable Machine: How about an easy and fast way to create machine learning models that you can directly use in your app or site?🙃 The Teachable Machine allows you to train a computer with images, sounds and poses. We have created a model using my pictures in different poses so that, we can perform an Image Classification by using it in our app. 🥳
Javascript: Want to bring the dead story to life? 🤠 Javascript does similar things and helps to convert simple web pages to dynamic. We have used Javascript to deploy the model and alarming the teacher when a student doesn't perform the punishment😬 properly with a sound.
HTML5 & CSS: CSS is used to bring the room beautiful interiors.🏠 I used coolbackgrounds.io for the sleek background used in the app.😎
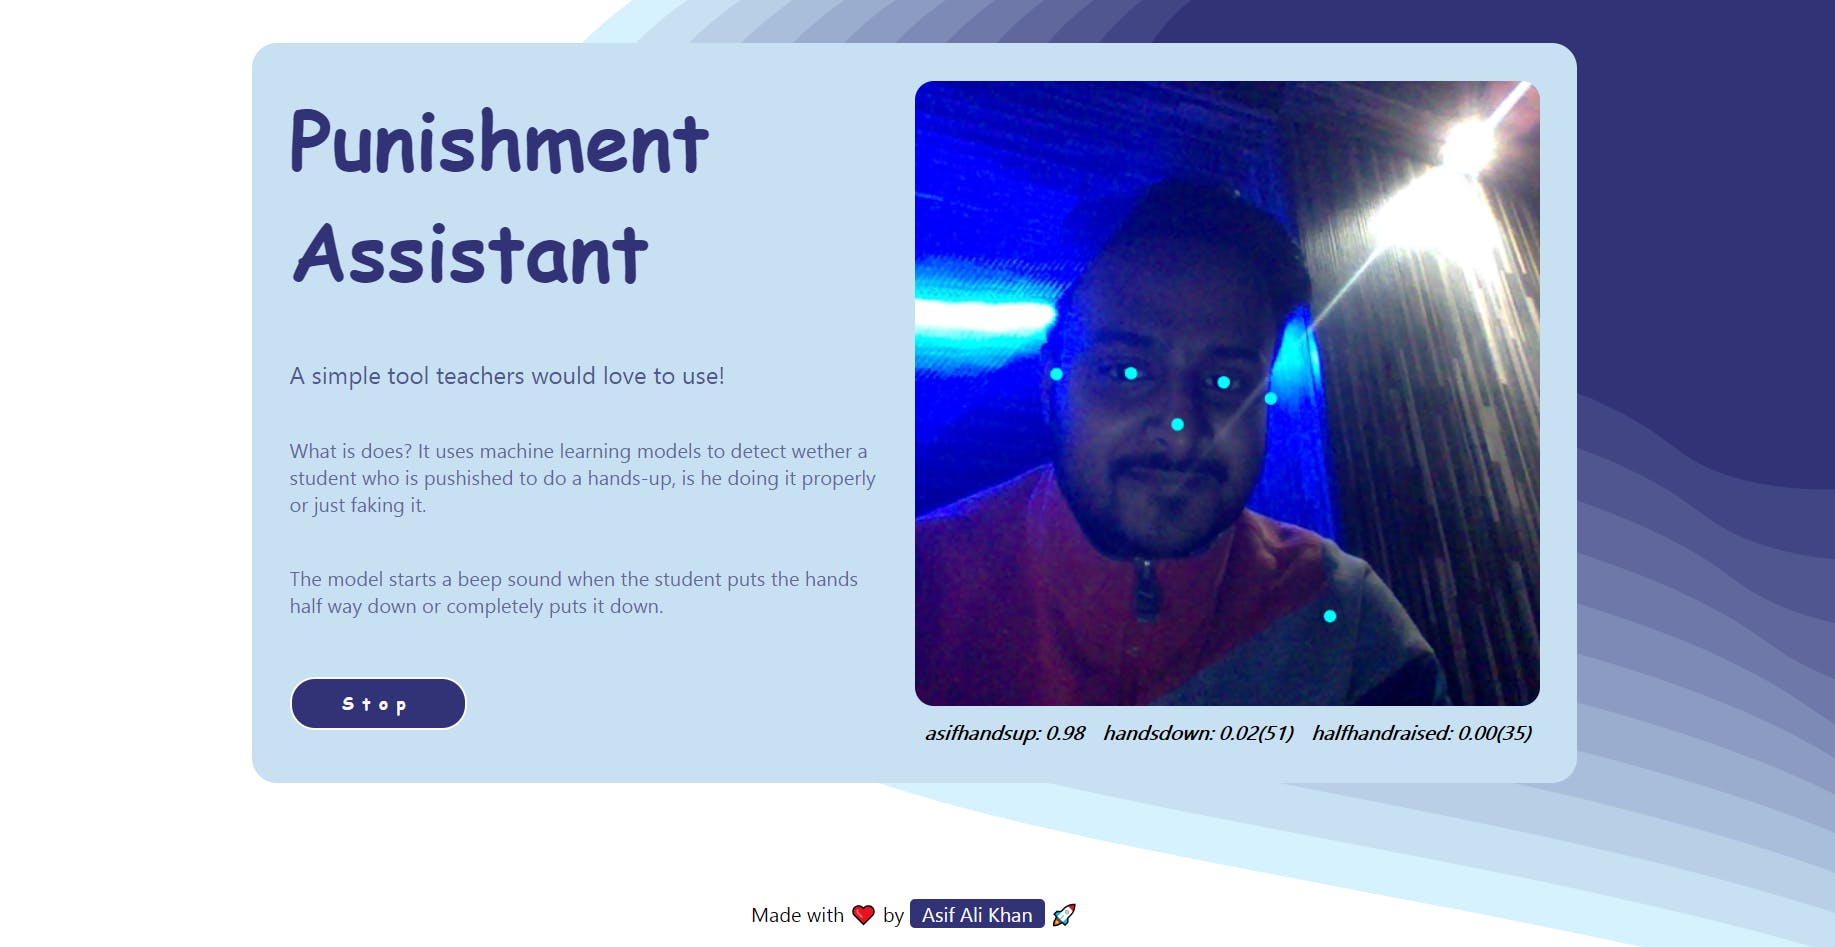
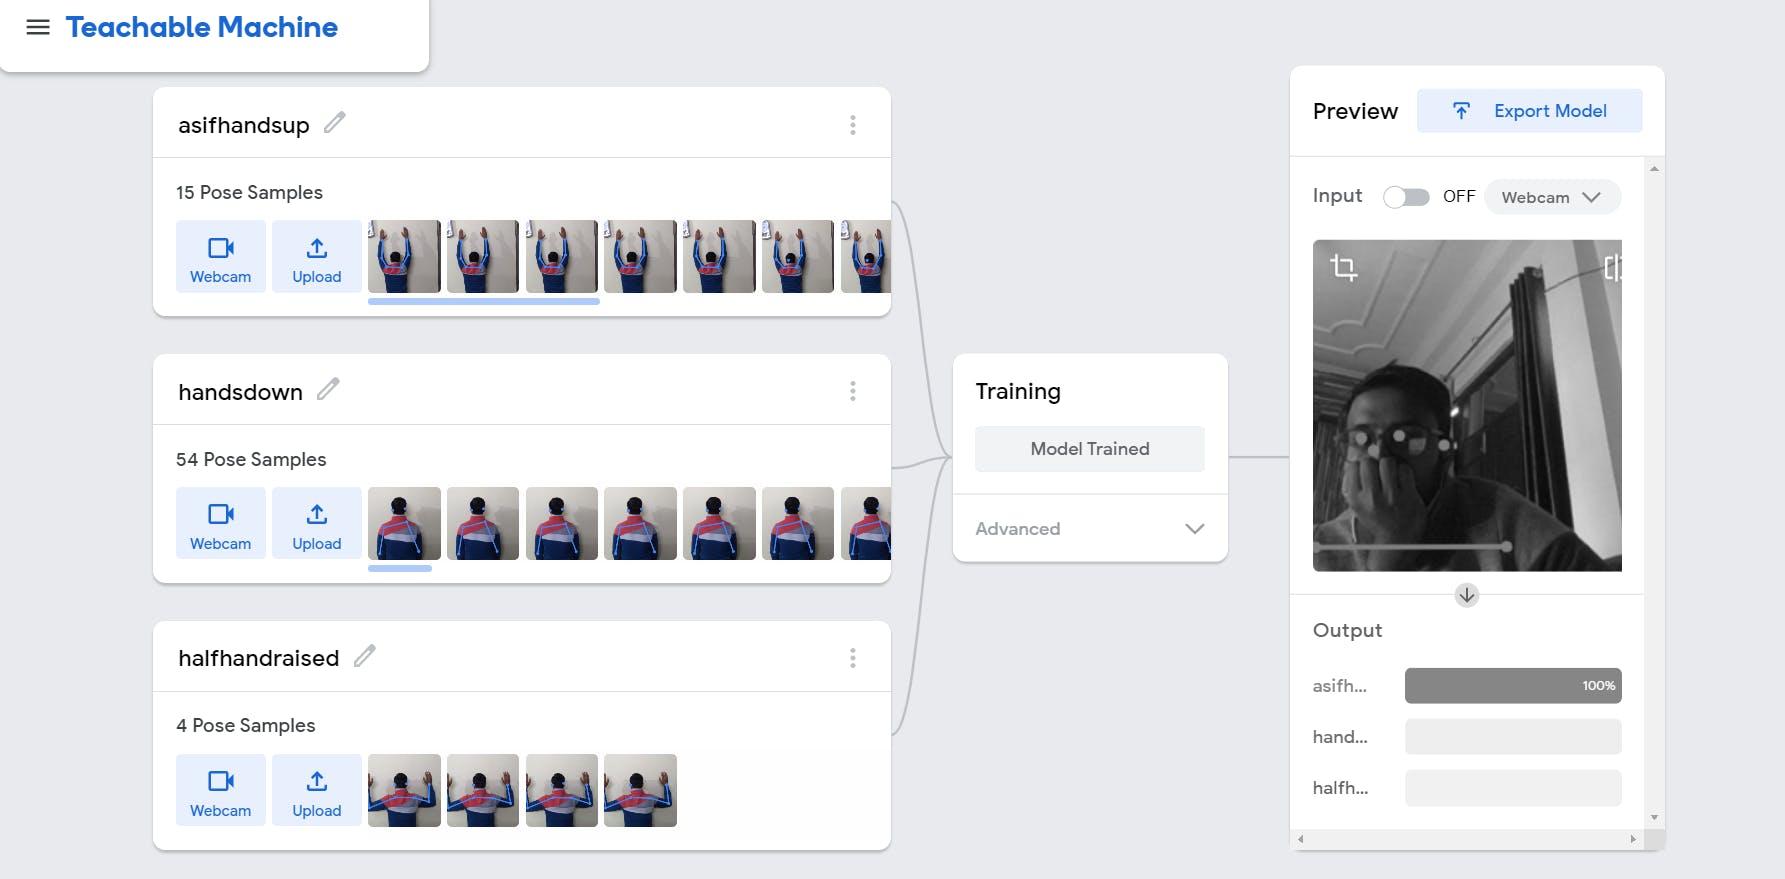
Here is a snap of the app when the hands are raised the app show 100% confidence in the pose and sound doesn't beep.🤫
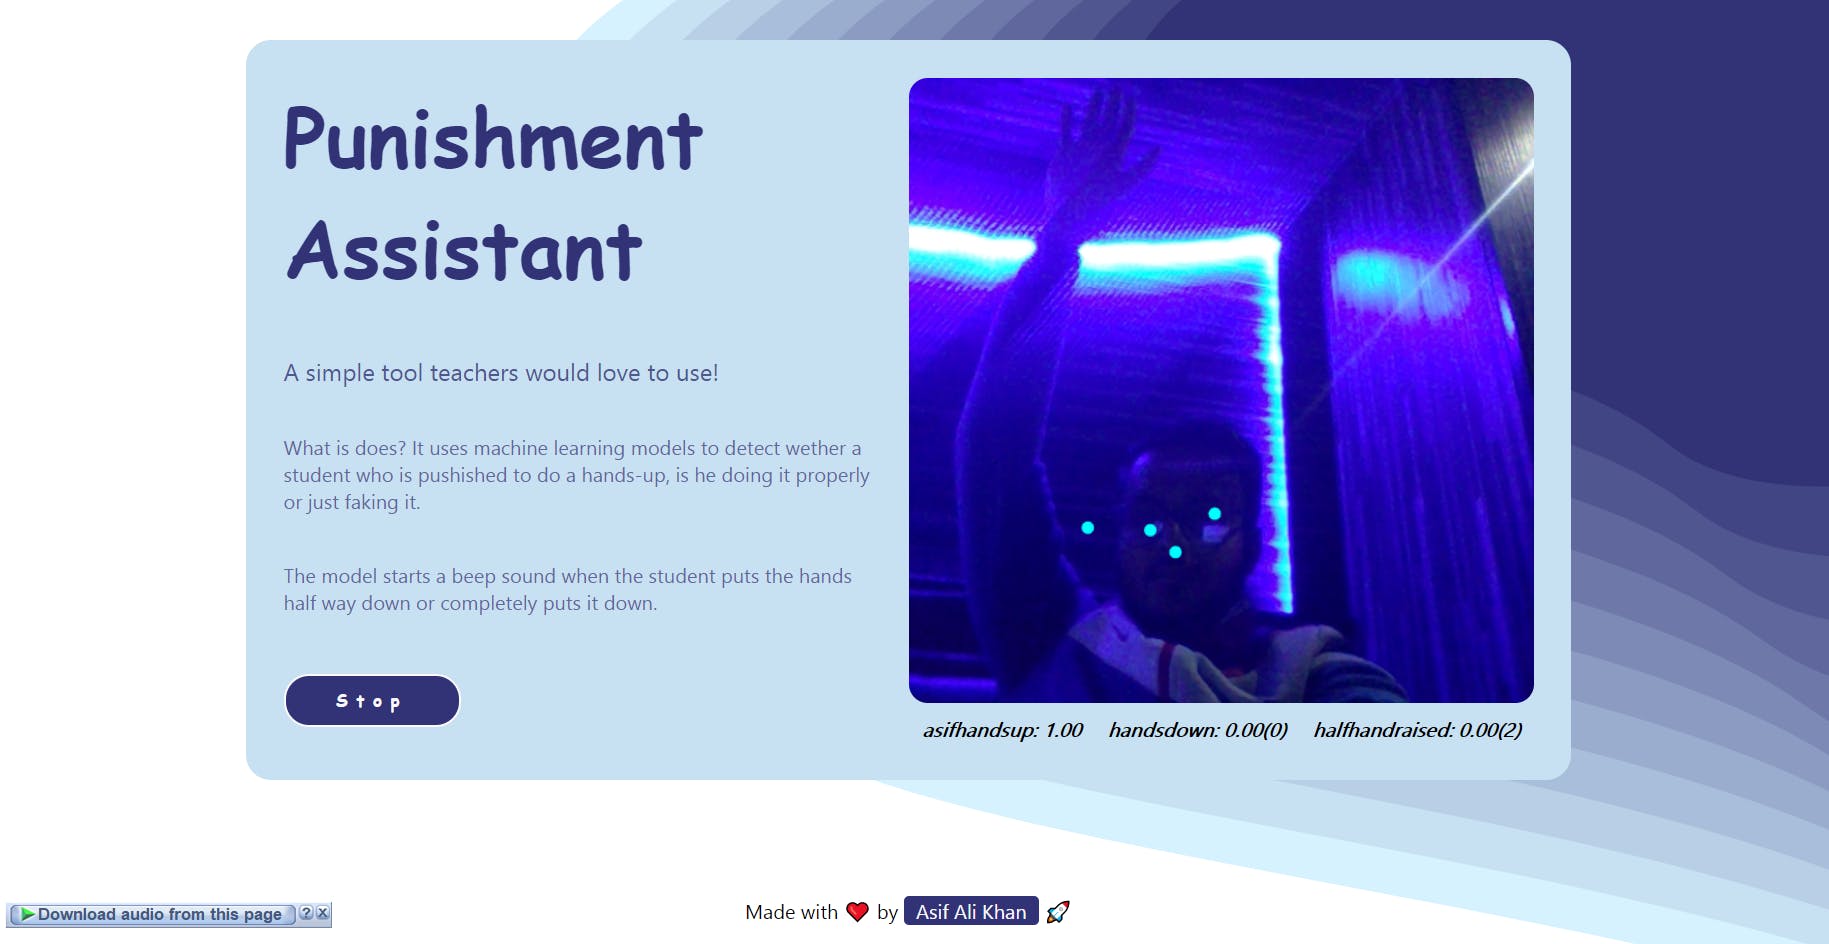
Here is a snap of the app when the hands have not raised the app show 98% confidence in the pose and sound beeps.🧏🏻♂️
Here is a snap of the app when the hands have half raised the app should 71% confidence in the pose and sound beeps. 🧏🏻♂️
I learned 🤩the Machine Leaning terminologies from Machine Learning Glossary Google Developers, do check them out.✅
The Teachable Machine
We can create the ML models with a few simple steps using the Teachable Machine user interfaces. To get started, [browse to this link]. You can select either an image🌅, sound🥁, or pose project🙋🏻♂️. In our case, it will be a pose🙋🏻♂️ project.
Next, we need to define the classifications by selecting the examples(the images and pose🙋🏻♂️). We can either use a webcam🖥️ to take the snaps or can upload the images.
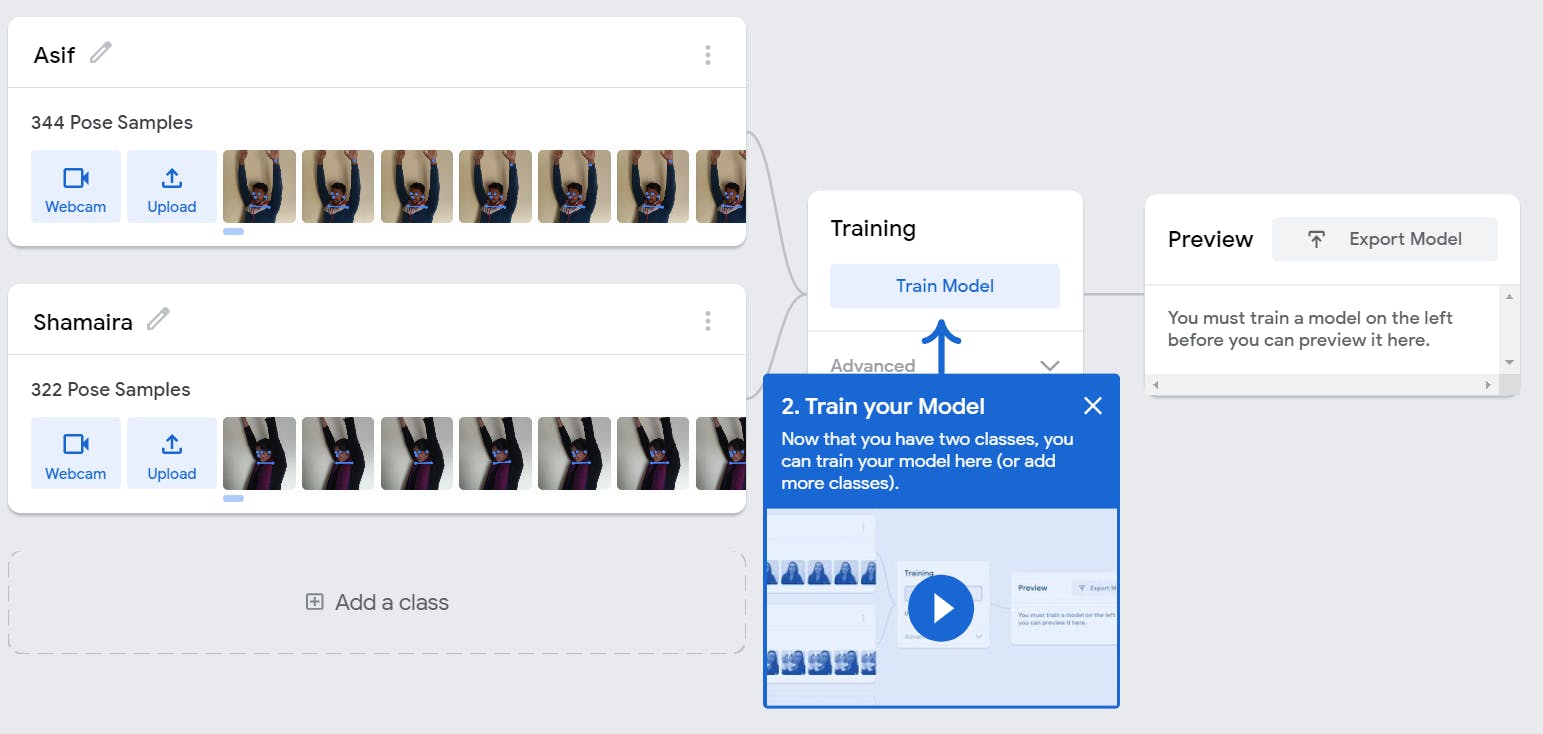
We then train the model once the data gets uploaded. The model will be created thereafter.
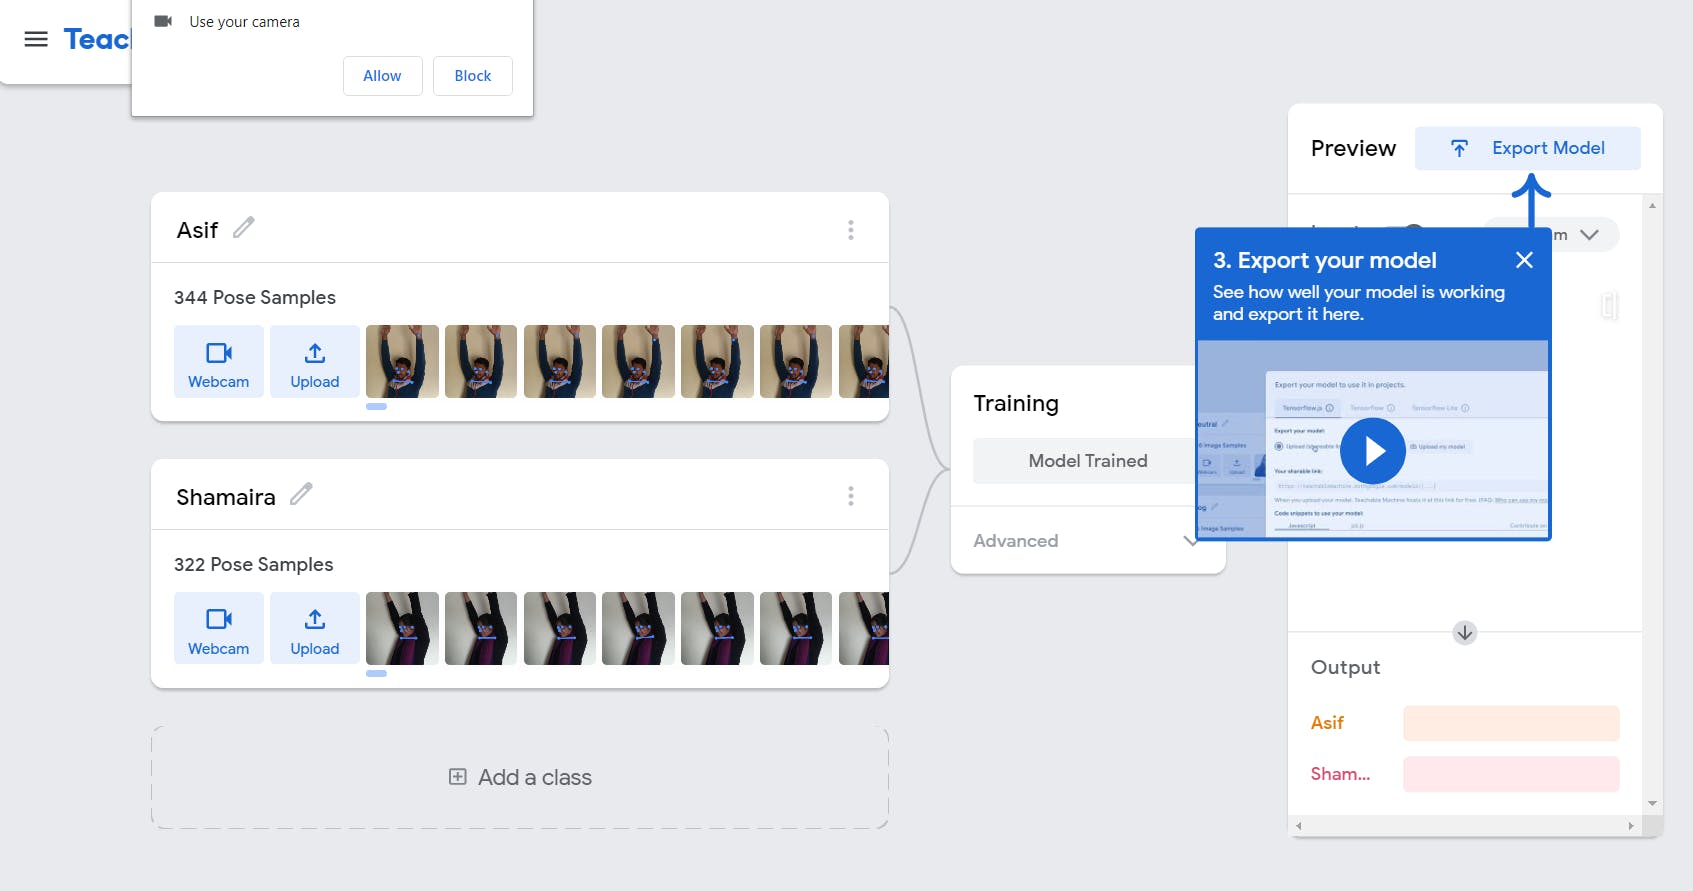
After the training is done we can test the model by using a webcam 🖥️ or a still picture using upload. After that, we have to export the data and use it as a model.
UI using HTML5, CSS & Javascript
So we have a model now. We will use Javascript to import the model and classify the poses 🙋🏻♂️ using the live stream.
HTML code is below :
<div class="container">
        <div class="left">
            <h1>Punishment Assistant</h1>
            <h5>A simple tool teachers would love to use!</h5>
            <h6>What is does? It uses machine learning models to detect wether a student who is pushished to do a hands-up, is he doing it properly or just faking it.</h6>
            <h6>The model starts a beep sound when the student puts the hands half way down or completely puts it down.</h6>
            <button class = "toggle" type="button" onclick="toggle()">Start</button>
        </div>
        <div class="righ">
            <canvas id="canvas"></canvas>
            <div id="label-container"></div>
            <audio class = "handsdown" src="sounds/kick.wav"></audio>
            <audio class = "handshalfraised" src="sounds/tom.wav"></audio>
        </div>
    </div>
I will explain the elements below -
button: The button is used to toggle for Start/Stop of the testing.
canvas: It is the place where the webcam will show-up.
audio: It has audio stored which will ring when the student violates the rules.📣
Now the functions used in javascript :
- Toggle - The toggle function helps to change the DOM elements and change the PLAY ▶️/PAUSE ⏸️ of the Webcam for the testing phase.
let togglekey = false;
     async function toggle(){
         togglekey = !togglekey;
         if(togglekey === true){
             await init();
             togglebutton.innerHTML = "Stop";
         }else if(togglekey===false){
             await closeinit();
             togglebutton.innerHTML = "Start";
         }
     }
init() - This is the initialization function for the model where it receives the URL for the model and initiates other functions to test the model.
async function init() { const modelURL = URL + "model.json"; const metadataURL = URL + "metadata.json"; // load the model and metadata model = await tmPose.load(modelURL, metadataURL); maxPredictions = model.getTotalClasses(); await webcam.play(); window.requestAnimationFrame(loop); // append/get elements to the DOM canvas.style.display="block"; canvas.width = size; canvas.height = size; ctx = canvas.getContext("2d"); labelContainer = document.getElementById("label-container"); for (let i = 0; i < maxPredictions; i++) { // and class labels labelContainer.appendChild(document.createElement("div")); } }- loop() - this function is used to update the video🎦 frame and predict the score for the model tested.
async function loop(timestamp) { webcam.update(); // update the webcam frame await predict(); window.requestAnimationFrame(loop); } - predict() - This predicts the confidence score for the model and allows us to perform 2 actions on the basis of the score.
- the beeps when the score surpasses 70 per cent mark.
- the score next to each model on how many times they are being called helping the teacher🧑🏻🏫 to judge how many times the rules are violated.
let handsDownCount=0;
        let handsHalfDownCount=0;
        async function predict() {
            // Prediction #1: run input through posenet
            // estimatePose can take in an image, video or canvas html element
            const { pose, posenetOutput } = await model.estimatePose(webcam.canvas);
            // Prediction 2: run input through teachable machine classification model
            const prediction = await model.predict(posenetOutput);

            for (let i = 0; i < maxPredictions; i++) {
                const classPrediction =
                    prediction[i].className + ": " + prediction[i].probability.toFixed(2) + ( i>0?(i===1?`(${handsDownCount})`:`(${handsHalfDownCount})`):"");
                labelContainer.childNodes[i].innerHTML = classPrediction;
            }
            //to check handsdown score
            if(prediction[1].probability.toFixed(2)> 0.70){
                const handsdownMusic = document.querySelector(".handsdown")
                handsdownMusic.play();
                handsDownCount++;
            }
            // to check hands-half-raised score
            if(prediction[2].probability.toFixed(2)> 0.70){
                const handshalfraisedMusic = document.querySelector(".handshalfraised")
                handshalfraisedMusic.play();
                handsHalfDownCount++;
            }

            // finally draw the poses
            drawPose(pose);
        }
- drawPose() - It is used to draw the pose🕺🏻 and the image on the canvas.
function drawPose(pose) {
            if (webcam.canvas) {
                ctx.drawImage(webcam.canvas, 0, 0);
                // draw the keypoints and skeleton
                if (pose) {
                    const minPartConfidence = 0.5;
                    tmPose.drawKeypoints(pose.keypoints, minPartConfidence, ctx);
                    tmPose.drawSkeleton(pose.keypoints, minPartConfidence, ctx);
                }
            }
        }
That's all about it. Please find the entire source code from the GitHub Repository. Feel free to give the project a star(⭐) if you liked the work. Please hope no teacher finds this repo😜
If you reached here!
It was my first blog and you reached out till the end. Thanks for giving it a read. Hope you find this insightful. Please 👍 like/share so that it reaches others as well. Let's connect. Feel free to DM or follow me on Twitter(@khanasif41).
#VercelHashnode #HashNodeHackathon #javascript #punishmentassistant